How to Fix a Leaking Threaded Joint Without Disassembly
Leaks in threaded joints can be a frustrating issue for homeowners. Whether it’s a dripping faucet, a leaking pipe under the sink, or a persistent trickle from a garden hose connection, these leaks can waste water and cause damage if left unattended. But what if you can’t or don’t want to disassemble the joint? This comprehensive guide will walk you through various methods to fix a leaking threaded joint without taking it apart, saving you time, effort, and potentially costly repairs.
Check the Severity of the Leak at the Threaded Joint
Before attempting any fix, it’s crucial to assess the severity and nature of the leak. This step will help you choose the most appropriate method and ensure your safety during the repair process.
Turn Off the Water Supply
For leaks in water pipes or fixtures, the first step is to turn off the water supply. This prevents water damage and makes the repair process easier and safer. Locate the nearest shutoff valve, which could be under the sink, behind the toilet, or near the main water meter.
Wear Protective Gear
Depending on the materials involved and the location of the leak, consider wearing –
- Gloves: Nitrile or latex gloves for protection against chemicals in sealants.
- Safety Glasses: To protect your eyes from splashes or debris.
- Long Sleeves: If working in tight spaces to avoid scrapes.
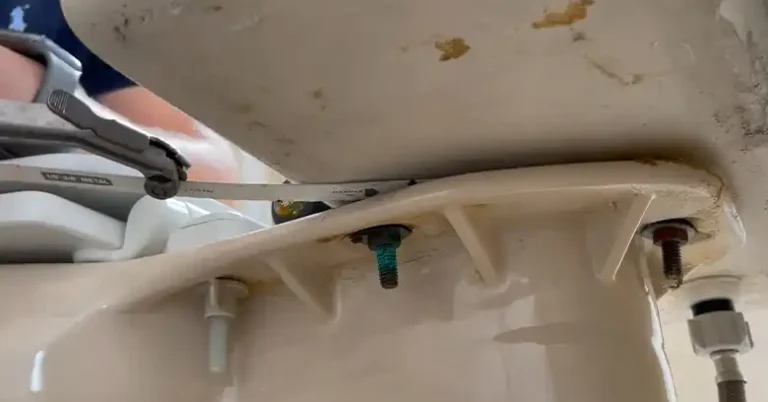
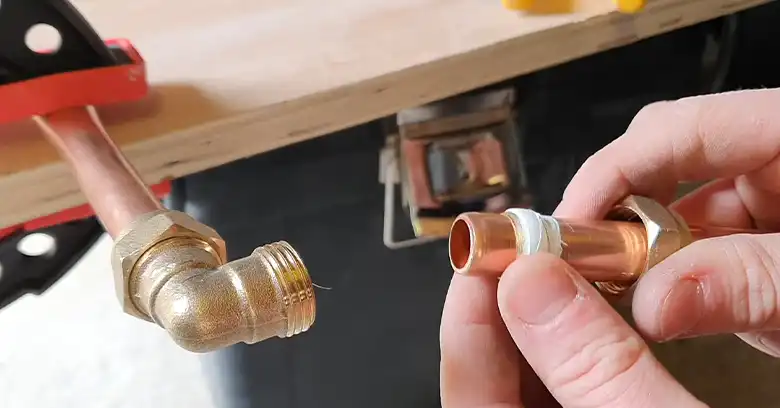
Identify the Joint Type
Understanding the type of joint is crucial for selecting the right repair method –
| Joint Type | Characteristics | Common Applications |
| Metal-to-Metal | Typically brass, copper, or galvanized steel | Water pipes, gas lines |
| Metal-to-Plastic | Often PVC or PEX to metal | Plumbing transitions |
| Plastic-to-Plastic | PVC, CPVC, or PEX | Modern plumbing systems |
Also, note the type of thread sealant already in use (if visible) –
- Pipe Dope: A paste-like substance.
- Teflon Tape: White or yellow tape wrapped around threads.
- O-ring or Gasket: A visible rubber or plastic ring.
Assess the Leak Severity
Categorize the leak based on its flow –
Drip: 1-5 drops per minute. Often fixable with minor interventions.
Trickle: Steady flow of water. Requires immediate attention.
Spray: High-pressure leak. This might indicate a more severe problem.
If you observe a spray or a high-pressure leak, it’s best to call a professional, as these can indicate significant damage or high stress on the joint.
How Do You Fix a Leaking Threaded Joint Without Disassembly?
Now that you’ve assessed the leak, let’s explore various methods to fix it without disassembling the joint. Each method has its strengths and is suited for different types of leaks and materials. We’ll discuss application techniques, when to use each method, and tips for success.
Method 1: Pipe Thread Sealant (Pipe Dope)
Pipe thread sealant, commonly known as pipe dope, is a versatile solution for sealing leaks in threaded joints without disassembly.
Application
Step 1: Use a wire brush or cloth to remove dirt, old sealant, or corrosion around the joint.
Step 2: Select a sealant compatible with your pipe material and the fluid in the system.
| Pipe Material | Recommended Sealant Type |
| Metal (Brass, Copper) | PTFE-based or Teflon-infused |
| Plastic (PVC, CPVC) | Plastic-safe, non-hardening |
| Gas Lines | Yellow gas-rated PTFE sealant |
Step 3: Apply the Sealant –
- Use a small brush or your finger (with gloves) to apply a bead of sealant around the outside of the joint.
- Focus on the area where the leak is occurring.
- For a more thorough seal, apply it in a spiral pattern, covering all threads.
Step 4: Allow the sealant to set according to the manufacturer’s instructions (typically 15-30 minutes) before testing.
Pros and Cons
Pros: Works on various materials, can handle higher pressures.
Cons: Can be messy, may require reapplication over time.
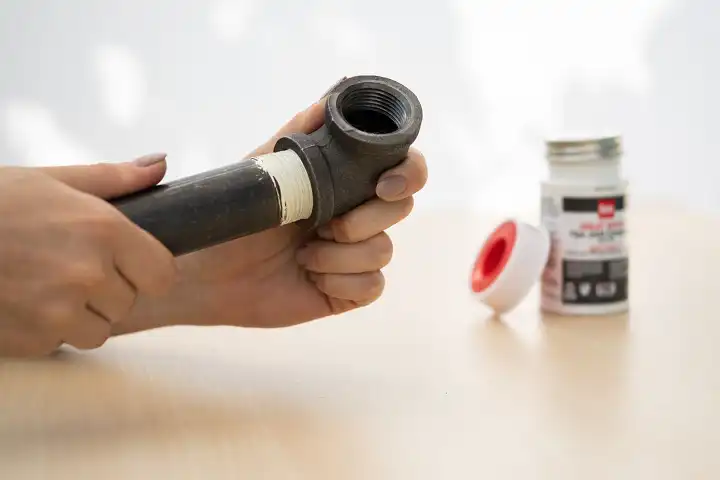
Method 2: Teflon Tape (PTFE Tape)
While traditionally used during assembly, Teflon tape can provide a temporary fix for low-pressure leaks.
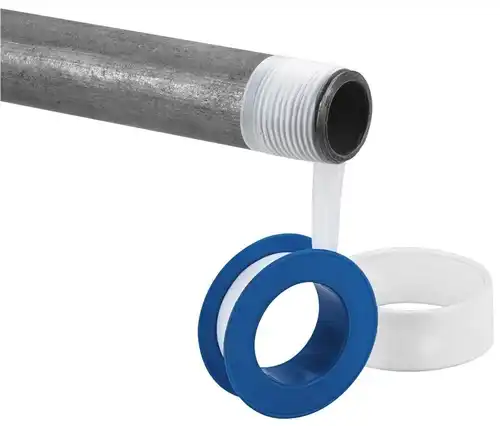
Application
Step 1: Ensure the area around the joint is clean and as dry as possible.
Step 2: Wrap the Joint –
- Start wrapping the tape tightly around the outside of the joint, covering the leak.
- Wrap in the direction of the threads (usually clockwise) to prevent the tape from unwinding under pressure.
- Use 3-5 wraps for a good seal.
Step 3: Turn on the water supply slowly to test the fix.
Pros and Cons
Pros: Quick, clean, and easy to apply.
Cons: Not ideal for long-term or high-pressure leaks. May come loose over time.
Method 3: Epoxy Putty
Epoxy putty is a strong, moldable solution that hardens to form a durable seal.
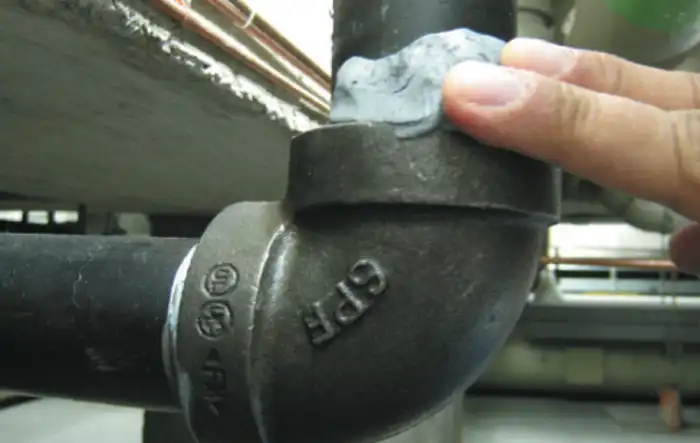
Application
Step 1: Clean the area with a degreaser or alcohol to remove oils and grime.
Step 2: Mix the Putty –
- Cut or knead equal parts of the two-part putty until it’s a uniform color.
- Work quickly; most epoxy putties set in 5-10 minutes.
Step 3: Apply to the Joint –
- Press the mixed putty firmly around and into the threaded joint.
- Smooth it out to form a continuous seal.
- For extra strength, wrap with fiberglass or cloth tape.
Step 4: Allow it to cure fully (usually 1-2 hours) before testing.
Pros
- Works on metal, plastic, and composite pipes.
- Ideal for moderate to high-pressure leaks.
- Can withstand temperatures from -50°F to 300°F (-45°C to 150°C).
Method 4: Silicone Sealant
High-quality silicone sealant provides a flexible, waterproof seal that can handle temperature fluctuations.

Application
Step 1: Clean and dry the area thoroughly. Use acetone or alcohol for degreasing.
Step 2: Apply Silicone –
- Cut the nozzle at a 45-degree angle for better control.
- Apply a bead of silicone around the joint, focusing on the leak area.
- Use a gloved finger or tool to smooth it into the threads.
Step 3: Allow 24 hours for a full cure before pressurizing the system.
Choosing the Right Silicone
| Factor | Type of Silicone |
| High Temperature (up to 400°F/200°C) | High-temp RTV silicone |
| Potable Water | NSF-61 certified silicone |
| Outdoor Use | UV-resistant silicone |
Method 5: Plumber’s Putty
A traditional, non-hardening compound for temporary fixes on low-pressure leaks.
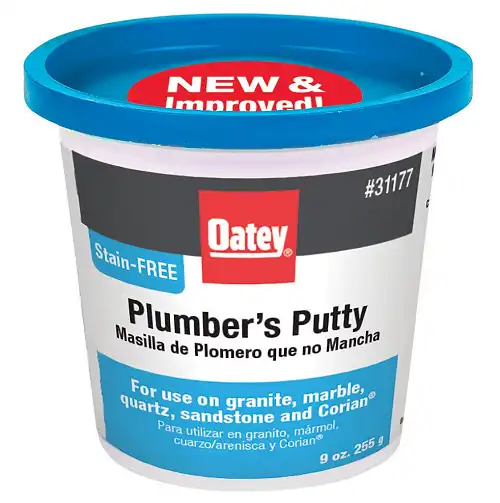
Application
Step 1: Roll a small amount of putty into a thin rope.
Step 2: Work the putty into the threads around the leak.
Step 3: Use a finger to smooth it flush with the joint.
Pros and Cons
Pros: Best uses for faucet connections, drain flanges.
Cons: Not suitable for high-pressure or high-temperature applications.
Method 6: Fernox LS-X
A unique, water-activated sealant for emergency fixes.
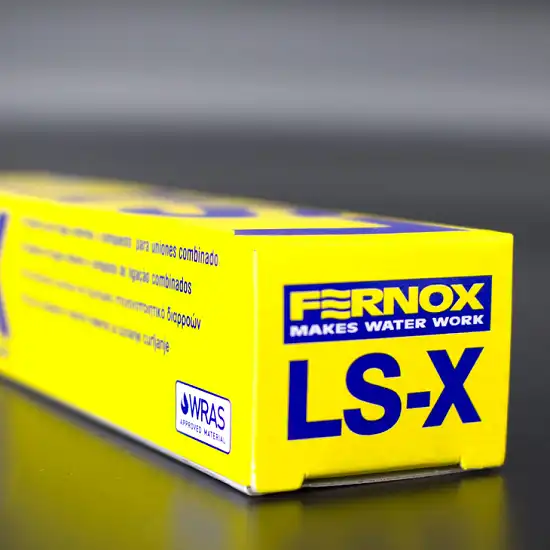
Application
Step 1: Squeeze the paste directly onto the leaking area.
Step 2: Wrap a provided gauze strip around the sealant.
Step 3: Run water to activate the sealant. It hardens in about 10 minutes.
Pros and Cons
Pros:
- Can be applied under pressure (no need to shut off water).
- Works on various materials: copper, steel, plastic.
Cons: Temporary fix; plan for a permanent repair.
Bonus Tips
Use a Leak Detector: Mix a few drops of dish soap with water. Apply to the joint; bubbles indicate the exact leak location.
Layer Your Solutions: For stubborn leaks, combine methods. For example –
- Apply pipe dope.
- Wrap with Teflon tape.
- Cover with epoxy putty.
Monitor the Fix: Check the repair daily for the first week to ensure it holds.
Mark for Future: Mark fixed joints with tape or paint for easy identification during future maintenance.
When to Call a Professional
While these DIY solutions can be effective, there are situations where professional help is crucial –
- Persistent Leaks: If the leak continues after trying multiple methods.
- High-Pressure Leaks: Spraying water or hissing gas leaks are emergencies.
- Visible Damage: Cracks, severe corrosion, or deformed threads.
- Critical Systems: Gas lines, main water lines, or industrial settings.
- Uncertain Material: If you can’t identify the pipe material or appropriate sealant.
Conclusion
Fixing a leaking threaded joint without disassembly is possible with the right tools and techniques. From pipe dope and epoxy putty for moderate leaks to silicone sealant for flexibility and Fernox LS-X for emergency fixes, you have several options. The key is to assess the leak correctly, choose the right method, and apply it properly.
Frequently Asked Questions
Can I use these methods on a natural gas line leak?
No. Any gas line leak, no matter how small, requires immediate professional attention. Gas leaks pose serious fire and health hazards. Turn off the gas supply, ventilate the area, and call your gas company or a licensed gas fitter immediately.
How long will a temporary fix like plumber’s putty or Teflon tape last?
It varies greatly depending on pressure, temperature, and vibration. Plumber’s putty on a low-pressure faucet might last months, but on a high-pressure pipe, it could fail within days. Consider these as short-term solutions (1-4 weeks) while you plan a proper repair.
I fixed the leak, but now it’s leaking from a different spot on the same joint. Why?
This is common, especially in older systems. When you seal one weak point, the pressure can find another. It’s called the “whack-a-mole effect” in plumbing. This often indicates that the entire joint or section of pipe needs professional attention, as multiple weak points suggest overall deterioration.