How to Remove a Stuck Gas Line from a Dryer
Important Note: Working with gas lines carries a risk of gas leaks, which can be dangerous. If you are uncomfortable with any of these steps, call a licensed plumber or gas fitter.
Having a stuck gas line on your dryer can be a real pain. You’re trying to do some simple maintenance or maybe moving the dryer to a new spot, and suddenly you’re faced with a stubborn gas line that just won’t budge. Don’t worry though, I’ve got you covered! In this article, we’ll go through the step-by-step process of safely removing that pesky stuck gas line.
The key is to take it slow, follow the proper safety precautions, and have the right tools on hand. With a little elbow grease (and maybe some penetrating oil), you’ll have that gas line disconnected in no time. And if all else fails, we’ll cover when it’s best to just replace the gas line altogether. So let’s get started!
How Do You Remove a Stuck Gas Line from a Dryer?
Dealing with gas lines can be a bit nerve-wracking, but don’t let that stop you! With the right preparation and precautions, removing a stuck gas line from your dryer is totally doable.
Get Prepared!
The first and most important step is to ensure your safety. Gas leaks are no joke, so you’ll want to take the following precautions:
- Turn off the gas supply valve to the dryer. This is usually located near the shut-off valve for your house’s main gas line.
- Open a window near the dryer to create ventilation.
- Have a fire extinguisher readily available, just in case.
Gather the necessary tools
You’ll need a few tools to tackle this job:
- Two adjustable wrenches (one for each end of the connection)
- Penetrating oil (optional, but can be a lifesaver for really stubborn connections)
- A replacement gas line (highly recommended if the current one is stuck or showing signs of wear)
Clear the area
Pull the dryer out from the wall to allow for easy access to the gas line connection. You’ll want plenty of room to maneuver those wrenches.
Remove the Gas Line
Okay, now that you’re prepared, it’s time to get to work on that stuck gas line.
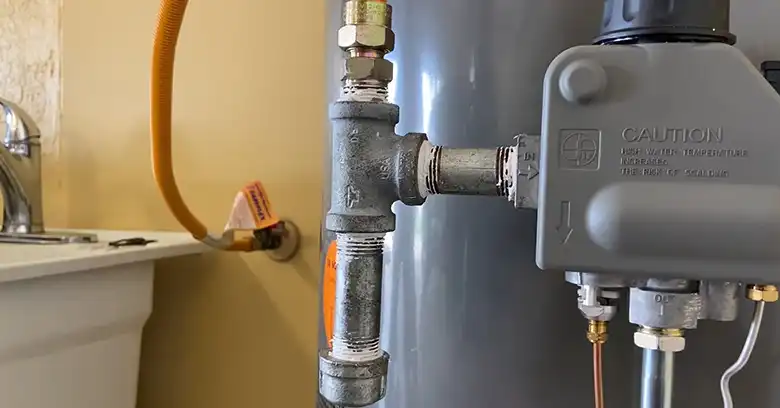
Step 1: Identify the connection
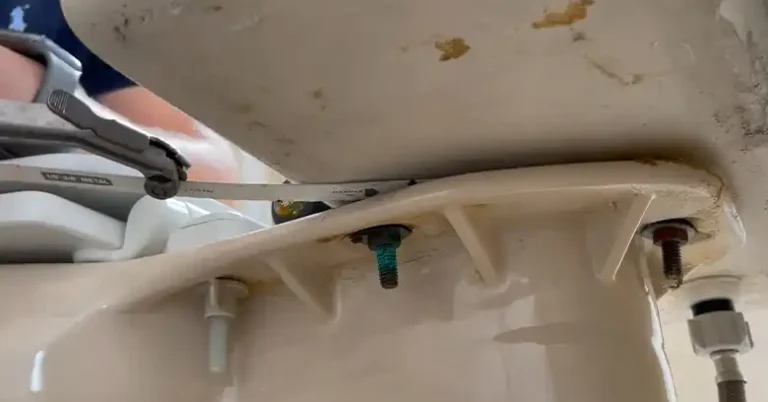
Locate the flexible metal gas line that connects the dryer to the gas supply pipe. There will be a nut on either end of this line.
Step 2: Loosen the nut on the gas supply pipe
Use one wrench to hold the pipe fitting steady.
With the other wrench, carefully turn the nut on the gas line counter-clockwise (lefty-loosey) to loosen it.
Apply gentle pressure – if the nut is very tight, you can apply a little more force, but be careful not to damage the threads or the pipe.
Step 3: Use penetrating oil (optional)
If the nut is extremely stuck, you can try spraying some penetrating oil on the threads and letting it sit for a few minutes to loosen any rust or corrosion.
Step 4: Replace the gas line (recommended)
Especially if the connection is difficult to remove or shows signs of damage, it’s best to replace the entire gas line with a new, certified flexible gas connector. Most gas lines have an expiration date and shouldn’t be reused.
Reassemble the Gas Line (if applicable)
If you’re replacing the gas line, here’s how to reassemble everything –
Step 1: Install the new gas line
Wrap the threads of the new gas line with pipe dope or Teflon tape following the manufacturer’s instructions.
Tighten the nut on the gas supply pipe end by hand first, then use the wrenches to tighten it further, but don’t over-tighten.
Step 2: Reconnect the gas line to the dryer
Tighten the nut on the dryer end following the same procedure.
Check for Leak
Before you fire up that dryer, you’ll want to do a leak check to ensure everything is nice and tight.
Step 1: Mix a little dish soap with water in a spray bottle.
Step 2: Spray the soapy solution on all the gas connections you worked on.
Step 3: Turn on the gas supply valve. Watch for any bubbles forming on the soapy solution. Bubbles indicate a gas leak, and you’ll need to turn off the gas supply immediately and tighten the connections.
Step 4: If you smell gas after turning on the supply valve, turn it off immediately and do not attempt to use the dryer. Call a qualified appliance repair technician or plumber to fix the leak.
Final Steps
You’re almost done! Just a few final touches:
- Push the dryer back into place.
- Ensure all connections are secure before turning on the dryer and testing it.
Note: Take pictures before disconnecting anything to help you remember how to reassemble it. And never use a wrench on the gas supply pipe itself, only on the nut connecting the gas line.
End Note
There you have it, folks! You’ve successfully removed that stubborn gas line from your dryer. Wasn’t too bad, was it? Just remember to take your time, follow the proper safety precautions, and don’t be afraid to call in a professional if you’re feeling unsure about any part of the process.
Now, go forth and tackle those household projects with confidence! And if you have any lingering questions or concerns, feel free to drop a comment below. I’m always happy to lend a helping hand (or a virtual one, at least). Until next time, happy DIYing!