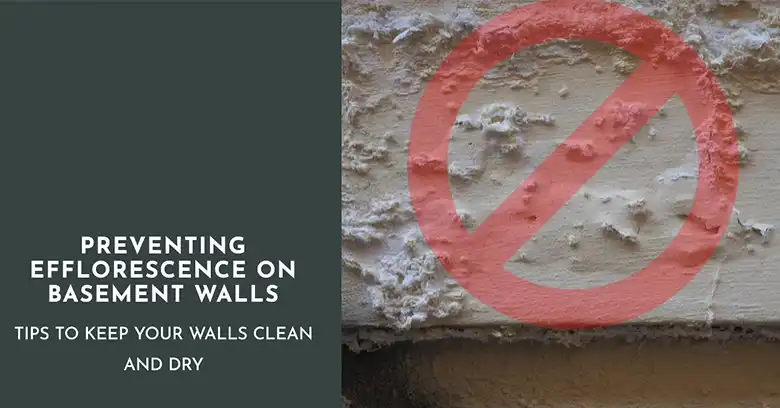
How to Stop Efflorescence on Basement Walls?
Dealing with that chalky white crud on your basement walls? I feel your pain – efflorescence is unsightly and annoying. But don’t worry, it can be stopped for good. The short answer is proper waterproofing is key to preventing efflorescence stains from constantly resurfacing. With the right steps like cleaning, drying, densifying, and sealing off moisture intrusion, you can kick those ugly salt deposits to the curb. This guide walks through exactly how to do it.
What is Efflorescence and Why It Happens?
Efflorescence refers to the white, powdery, or crystalline deposits that form on the surface of masonry, concrete, or other cement-based materials. It happens when water-soluble salts within the material dissolve and migrate to the surface, leaving behind these unsightly stains as the water evaporates.
These salts can come from various sources, including the concrete itself, surrounding soil, or even hard water. When moisture finds its way into these walls, it dissolves the salts, carrying them towards the surface. As the moisture evaporates, these dissolved salts are left behind, crystallizing and forming the white, powdery deposits you see.
While not inherently harmful to the structural integrity of your basement, efflorescence is a sign of moisture problems. Once you have found it, it’s necessary to deal with the issue as soon as possible. If you leave it unsolved then it can lead to mold growth, wood rot, and even foundation issues. So, addressing efflorescence is not just about aesthetics; it’s about protecting your entire basement.
Procedure to Stop Efflorescence on Basement Walls
Dealing with efflorescence requires a methodical four-step process to clean, dry, densify and seal the affected basement walls. Here’s how to tackle it:
Step 1 – Clean the Surface
First things first, you need to remove the existing efflorescence. Here are some effective cleaning methods:
- Chemical Cleaning: A common option is using a bleach or muriatic acid solution, diluted according to the manufacturer’s instructions. However, caution is key! These are potent chemicals that can damage your masonry if not handled properly. Ensure proper ventilation and wear protective gear while using them.
- Sandblasting: This method can be tempting for its ease, but it’s a double-edged sword. While it effectively removes efflorescence, it can also damage the surface and remove more than you bargained for. It’s best to leave this to a professional unless you’re comfortable with potentially altering the texture of your basement walls.
- Phosphoric Acid-Based Products: These are a safer alternative to harsher chemicals and effectively remove efflorescence. Look for products specifically designed for this purpose.
- Vinegar Solution: A gentler option is a vinegar (acetic acid) solution mixed with water. It’s less harmful and can be a good choice for cleaning efflorescence on your basement walls.
- Baking Soda Power: For a truly eco-friendly approach, consider baking soda. Mix 1 pound of baking soda with 5 gallons of water. Apply the solution liberally to the affected area until the fizzing stops. Rinse thoroughly with clean water afterward.
Remember: Always test any cleaning solution on an inconspicuous area before applying it to the entire surface.
Step 2 – Heat Dry the Area
With the efflorescence removed, the next crucial step is to get the area completely dried out before proceeding further.
Once the efflorescence has been removed, you need to get the area fully dried out before proceeding. Any remaining moisture can cause new efflorescence to form quickly.
Use fans, heaters, or dehumidifiers to completely dry the wall surface. Check for any hidden moisture pockets by carefully inspecting and feeling around the cleaned area. Drying may take several days for severely damp walls.
Step 3 – Apply Densifier on the Walls
Here comes the magic ingredient: a densifier. Densifiers are essentially concrete strengtheners that react with the calcium hydroxide present in concrete. This reaction strengthens the concrete’s matrix and eliminates up to 95% of efflorescence. Densifiers can also improve the overall strength, durability, and abrasion resistance of your basement walls – a win-win situation!
Pro Tip: When choosing a densifier, opt for a silane- or silicate-based formula. These penetrate deeper into the concrete, providing long-lasting protection.
Step 4 – Apply Waterproofing Coat on the Walls
The final step is to apply a waterproof coating or sealant over the densified walls. This crucial barrier prevents any further moisture infiltration, which is the root cause of efflorescence formation.
Apply a high-quality waterproofing coat on your basement walls. This acts as a barrier, preventing moisture from seeping in and dissolving those pesky salts.
Waterproofing Options: There are various waterproofing solutions available, including acrylic coatings, epoxy paints, and rubberized membranes. Choose one that best suits your needs and budget.
Why do You need to Deal with Efflorescence ASAP?
That white crusty stuff isn’t just an eyesore. If you don’t take care of efflorescence, it can cause real damage over time. The salts and minerals will slowly eat away at your concrete or brickwork, making it weaker and allowing cracks to form. Not good for your home’s structure!
- Mold Growth: Damp basements are prime breeding grounds for mold. Left unchecked, efflorescence can lead to the growth of harmful mold spores, posing health risks for your family.
- Wood Rot: Basements often house wooden structures like support beams and shelving. Excess moisture can cause wood rot, compromising the structural integrity of your basement and potentially leading to expensive repairs.
- Foundation Issues: Chronic moisture problems can weaken your foundation over time, leading to cracks and leaks. Addressing efflorescence and its underlying cause helps protect your home’s structural integrity.
Taking the proper steps to remove and prevent efflorescence protects your property investment and ensures a safe, healthy living environment.
End Notes
At the end of the day, tackling efflorescence is about more than just getting rid of an eyesore. It’s protecting your home’s structural integrity and your family’s health from moisture issues. Was this guide helpful for understanding the whole process? If any part seems too complicated, don’t hesitate to call in reinforcements – a professional waterproofer has the expertise to make quick work of it. Either way, taking action beats letting efflorescence linger. Your refreshed basement will be worth the effort! Let me know if any other questions come up.