How to Fur Out a Wall | Explained
Whether you’re looking to add insulation, hide unsightly pipes, or create a smooth surface for a new wall covering, furring out a wall is a versatile and practical solution. This technique can transform an uneven or problematic wall into a perfect canvas for your home improvement projects. In this guide, we’ll walk you through the process, from understanding what it means to fur out a wall to the final touches that ensure a professional finish.
What Does Furring Out a Wall Mean?
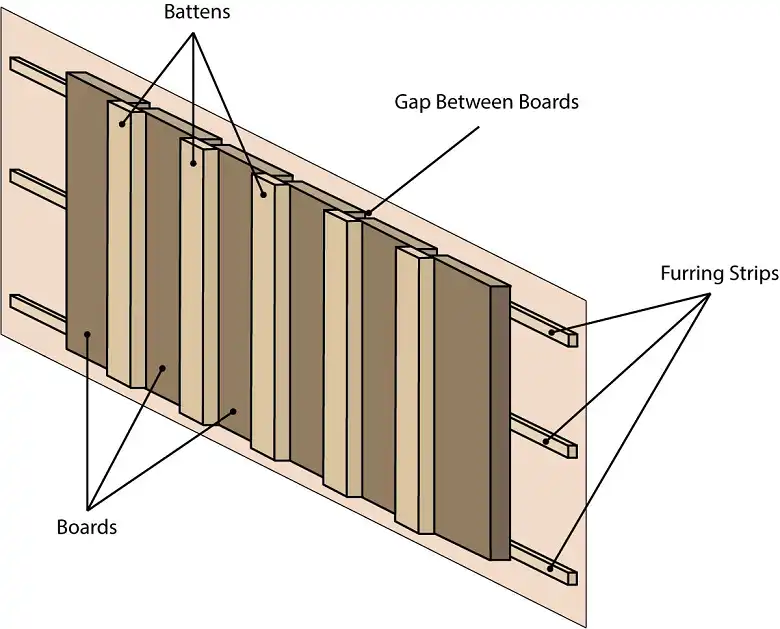
Furring out a wall is a construction technique that involves creating a secondary frame or set of supports in front of an existing wall. This process is typically done by attaching furring strips—thin, narrow pieces of wood or metal—directly to the wall surface. The primary purposes of furring out a wall include –
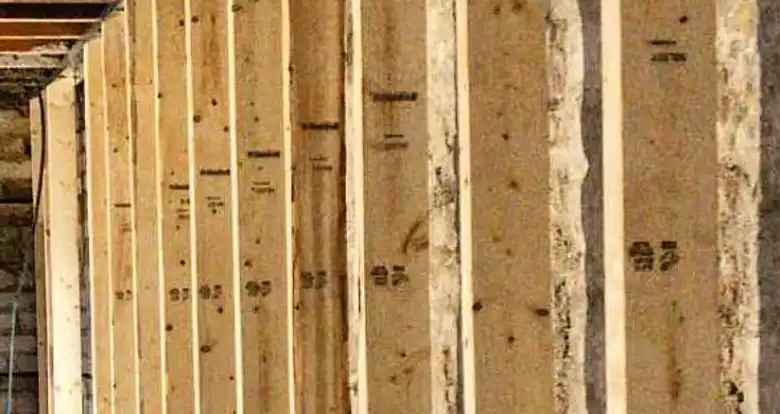
Leveling uneven surfaces: Old walls, especially in historic homes, can be wavy or out of plumb. Furring strips can create a flat, even surface.
Hiding imperfections: Furring can conceal cracks, holes, or other wall defects without extensive repairs.
Creating space for utilities: The gap between the original wall and the new surface can accommodate wiring, plumbing, or HVAC components.
Improving insulation: The additional space allows for the installation of insulation, enhancing energy efficiency.
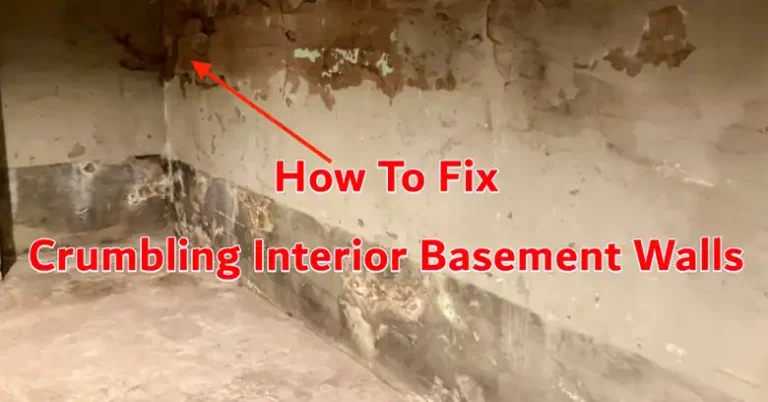
Moisture management: In basements or areas prone to dampness, furring can create a ventilated space to prevent mold growth.
How Do You Fur Out a Wall?
Furring out a wall is a manageable DIY project with the right tools, materials, and a bit of planning. Here’s a step-by-step guide to help you through the process.
Materials and Tools
Before you begin, gather these essentials –
- Furring strips: Choose between wood (like 1x2s or 2x2s) or metal. Wood is easier to cut and more traditional, while metal is straighter and resistant to moisture.
- Fasteners: Use screws for a secure hold or nails for faster installation. Choose lengths that penetrate the wall and furring strip by at least 1 inch.
- Level: A 4-foot level ensures your strips are straight and plumb.
- Stud finder: This tool helps locate studs for secure fastening, especially important for heavy wall coverings.
- Drill/Driver: A cordless drill with a screwdriver bit is ideal for installing screws quickly.
- Saw: For wood, a circular saw or miter saw works well. For metal, tin snips or a hacksaw will do.
- Safety gear: Always wear safety glasses and work gloves to protect from debris and sharp edges.
Planning and Preparation
Once the tools and materials are ready, it’s time to properly plan and get prepared to ensure optimal application. So –
Measure the wall: Use a tape measure to determine the length, height, and any irregularities. Note significantly uneven areas.
Calculate furring strip thickness: If you’re correcting unevenness, measure the deepest gap. For utilities, consider the thickness of pipes or wires. Add ½ inch for a safety margin.
Choose furring material: For most home projects, 1×2 or 2×2 wood strips work well. In damp areas like basements, consider metal.
Locate studs: Use a stud finder to mark stud locations every 16 or 24 inches. This helps ensure your new wall covering is securely attached.
Furring Out the Wall
Now, let’s get to work –
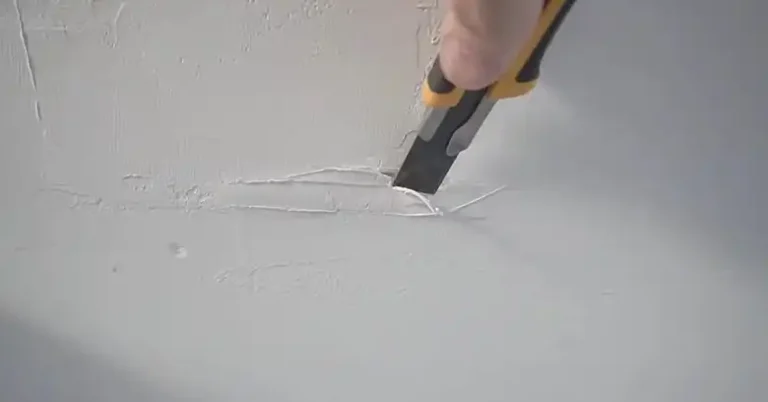
Step 1: Cut furring strips
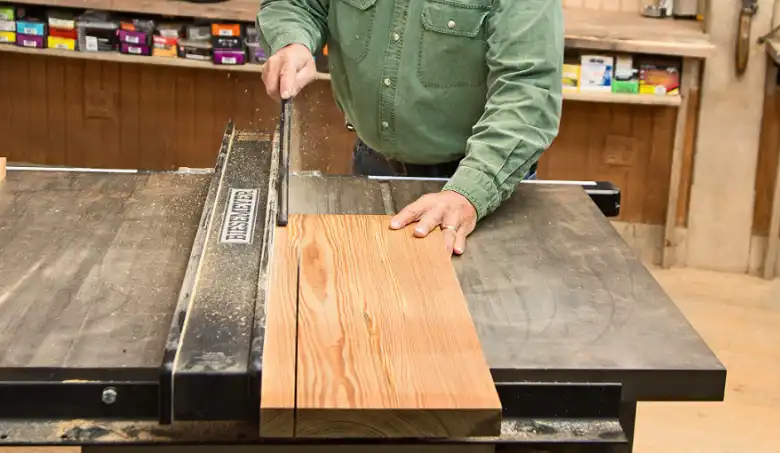
- For wood, measure and mark your lengths, then use a saw to cut. Make sure the ends are square for a tight fit.
- Metal strips often come pre-cut. If adjustments are needed, use tin snips or a hacksaw.
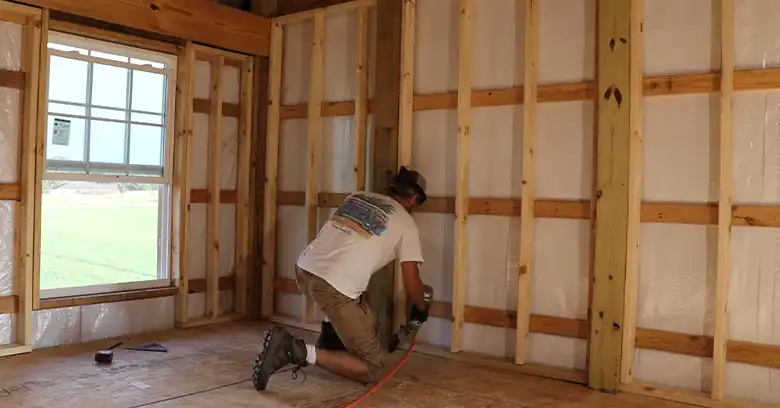
Step 2: Attach the first furring strip
- Start at a corner or edge. Use your level to ensure the strip is perfectly vertical (plumb).
- If correcting unevenness, place the strip at the desired final wall depth. Use shims behind the strip if needed.
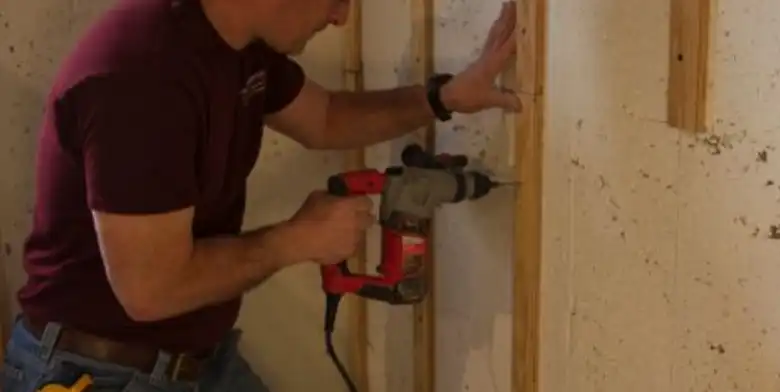
- Secure with screws or nails into studs. For masonry walls, use masonry anchors.
Step 3: Install subsequent furring strips
- Space strips 16 or 24 inches apart (on center) to match standard drywall or paneling sizes.
- Use your level on each strip. Even a slight tilt can lead to a wavy finished wall.
- Stagger the ends of strips on adjacent rows by at least 12 inches for strength.
Step 4: Work around obstacles
- For electrical outlets, measure and cut strips to fit snugly around the box.
- For pipes or ductwork, you may need to notch the strips or build a soffit.
Finishing Up
Before moving on to your wall covering, run your hand over the furring strips to feel for any high or low spots. Use your level to double-check. For a perfectly smooth surface, use caulk or thin wood shims to fill any spaces between the furring and the wall.
Bonus Tips
- If you’re running new wires or pipes, do it before furring. Secure them to prevent noise and damage.
- Choose insulation that fits between furring strips. Fiberglass batts or rigid foam are common choices.
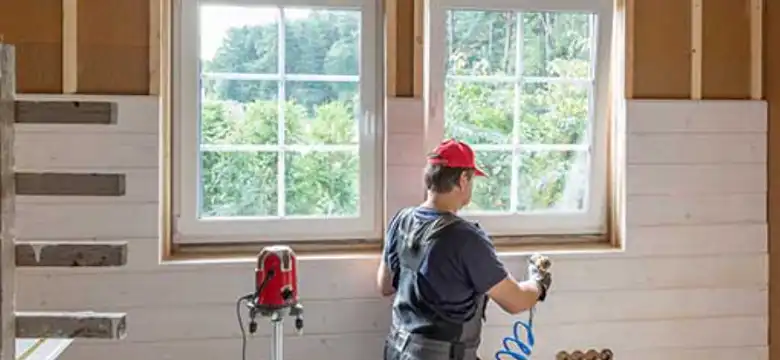
- Furring will make your walls thicker. You may need to extend the jambs or adjust the trim.
Does Furring Out a Wall Depend on Wall Type?
Absolutely! The wall’s material and condition greatly influence your furring approach –
Drywall or plaster: Often found in newer homes. Furring can help level minor imperfections or create space for utilities.
Masonry (brick or concrete): Common in basements and old homes. Furring is crucial here for insulation and to prevent moisture issues.
Wood paneling: In older homes, furring can modernize the look without removing cherished original features.
Exterior walls: When furring exterior walls, always include a vapor barrier to manage moisture.
How Much Does It Cost to Fur Out a Wall?
Costs vary based on materials, wall size, and whether you DIY or hire a professional.
Materials: Expect to pay $0.50 to $2 per linear foot for furring strips, plus fasteners and tools.
Example cost: For a 12×8 foot wall (96 square feet), using wood furring strips spaced 16 inches apart –
- Furring strips (1x2s): About $40
- Screws and miscellaneous: $20
- Total DIY cost: Around $60, or $0.60 per square foot
However, it’s important to consider additional factors that can affect cost –
- Larger or oddly shaped walls will require more materials and potentially more labor.
- Working around existing wires or pipes can increase complexity and cost.
- Tighter spacing (less than 16 inches) might require more materials and slightly increase labor time.
Professional installation: Add $2 to $5 per square foot for labor. Our example wall might cost $250 to $540 total.
However, the final cost can vary depending on factors like –
- Labor costs can differ based on your region.
- Experienced contractors might charge more but may complete the job faster.
- Project complexity factors are mentioned above.
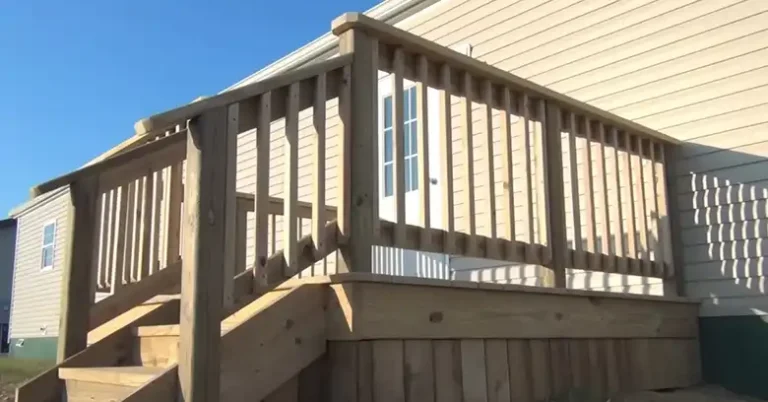
Importance of Furring Out a Wall
A well-furred and finished wall can significantly increase your home’s appeal, potentially boosting its value during appraisal. But the financial rewards go beyond aesthetics. Proper insulation created by furring can lead to energy savings of up to 20%, keeping your wallet happy and the environment healthier. This is especially crucial in areas prone to moisture, like basements.
Furring creates a much-needed air gap that helps prevent the growth of mold and mildew, saving you from costly repairs down the line. But the true beauty of furring lies in its versatility. Whether you dream of smooth drywall or a luxurious stone veneer finish, furring creates the perfect base for any design vision.
And the advantages don’t stop there. If you ever need to update electrical wiring or add a new outlet, furred walls provide easy access, making future renovations a breeze. So, don’t be afraid to embrace the process of furring – it’s an investment that will pay off in countless ways.
Bottom Line
Furring out a wall is more than a construction technique; it’s a way to transform problem areas into assets. Whether you’re tackling uneven surfaces, improving insulation, or just wanting a fresh look, furring offers a cost-effective, versatile solution. With careful planning and the right tools, it’s a project well within reach of the motivated DIYer. And the rewards—a more comfortable, efficient, and beautiful home—are well worth the effort.
Related FAQs
Can I fur out a wall with drywall already installed?
Yes, you can fur out over existing drywall. However, ensure your fasteners are long enough to penetrate through the drywall into studs or solid backing. Be cautious not to damage wiring or plumbing behind the drywall.
How do I fur out a wall for a TV mount?
For heavy items like TVs, it’s crucial to fur directly over studs. Use thicker furring material (like 2x4s) and longer, stronger fasteners. Consider adding blocking (horizontal supports) between studs for additional strength.
Can furring strips support shelving or cabinets?
It depends on the weight. For light shelves, properly installed furring strips can suffice. For heavier items like cabinets, fur directly over studs or add substantial blocking. Always consider the total weight and consult a professional for heavy loads.