How to Bypass the Pull Chain on a Ceiling Fan
Ceiling fans are a staple in many homes, providing comfort and energy efficiency. However, the traditional pull chain can be inconvenient or even unreachable for some users. This article will guide you through the process of bypassing the pull chain on your ceiling fan, offering several alternatives that can make your life easier and your home smarter.
To bypass the pull chain on a ceiling fan, you can install a wall switch, add a remote control, or integrate a smart fan controller. Each method involves disconnecting the pull chain mechanism and wiring in a new control system. The process typically takes 1-2 hours for a DIY enthusiast, but it’s crucial to follow safety precautions and consider professional help for complex setups.
Safety Precautions Before Attempting to Bypass the Pull Chain
Before we dive into the methods of bypassing your ceiling fan’s pull chain, let’s talk safety. Working with electrical components can be dangerous if proper precautions aren’t taken. Here’s what you need to do:
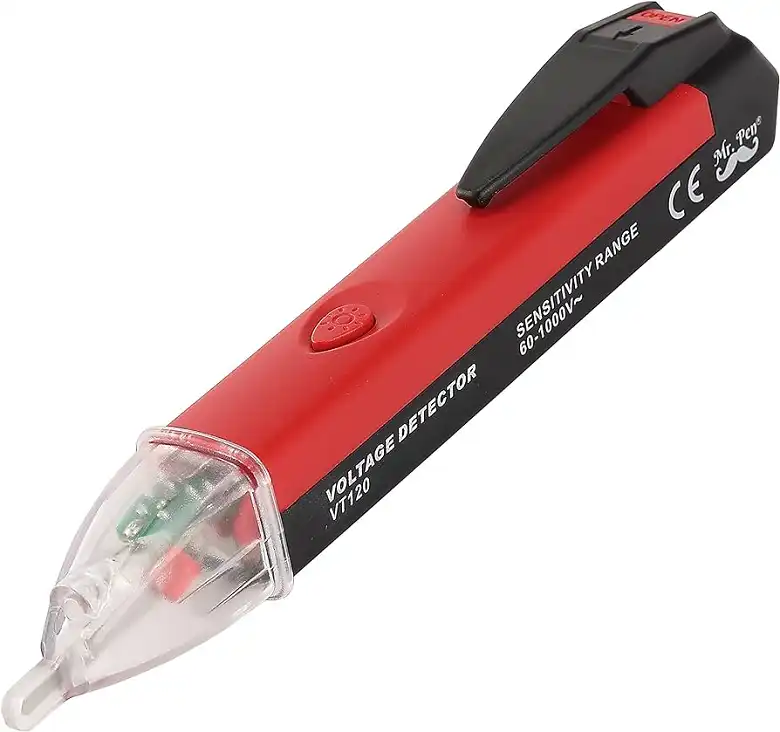
First, turn off the power to your ceiling fan at the circuit breaker. This is non-negotiable – it’s the single most important step in ensuring your safety. After turning off the breaker, use a voltage tester to double-check that no electricity is flowing to the fan. These testers are inexpensive and can save your life – they’re available at most hardware stores for around $10-$20.
Next, gather your tools. You’ll need a screwdriver (typically Phillips head), wire strippers, wire nuts, and possibly a ladder, depending on your ceiling height. If you’re installing a wall switch, you may also need a drill and drywall saw.
Methods to Bypass the Pull Chain on the Ceiling Fan
Wall Switch Installation
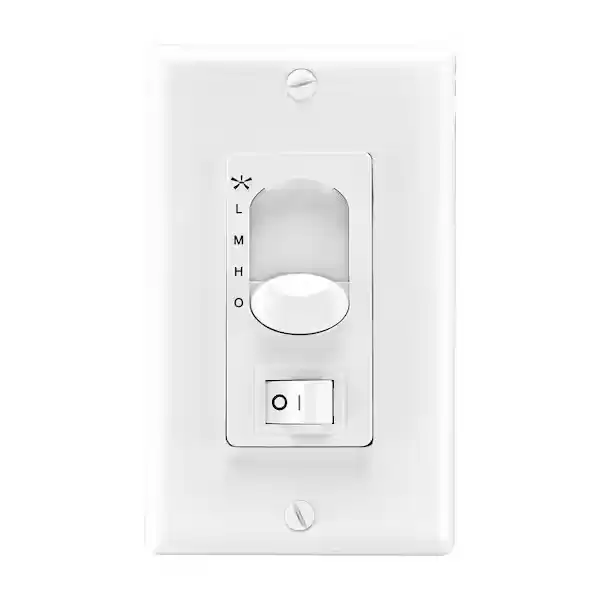
Installing a wall switch is one of the most straightforward ways to bypass your ceiling fan’s pull chain. This method gives you control from a convenient wall location and can be integrated with your existing light switches for a cohesive look.
To install a wall switch, you’ll need to run new wiring from the fan to the switch location. This typically involves:
- Cutting a hole in the drywall for the switch box
- Running cable from the fan to the switch location
- Connecting the wires to the new switch
- Mounting the switch and covering the hole
The process usually takes about 2-3 hours for someone with basic DIY skills. The materials cost is relatively low, with a basic fan control switch costing around $15-$30.
Pros of wall switch installation:
- Convenient control from wall level
- No batteries required
- Can be integrated with existing switch plates
Cons of wall switch installation:
- Requires running new wiring
- May involve cutting into drywall
- Limited to control from one location
Remote Control Installation
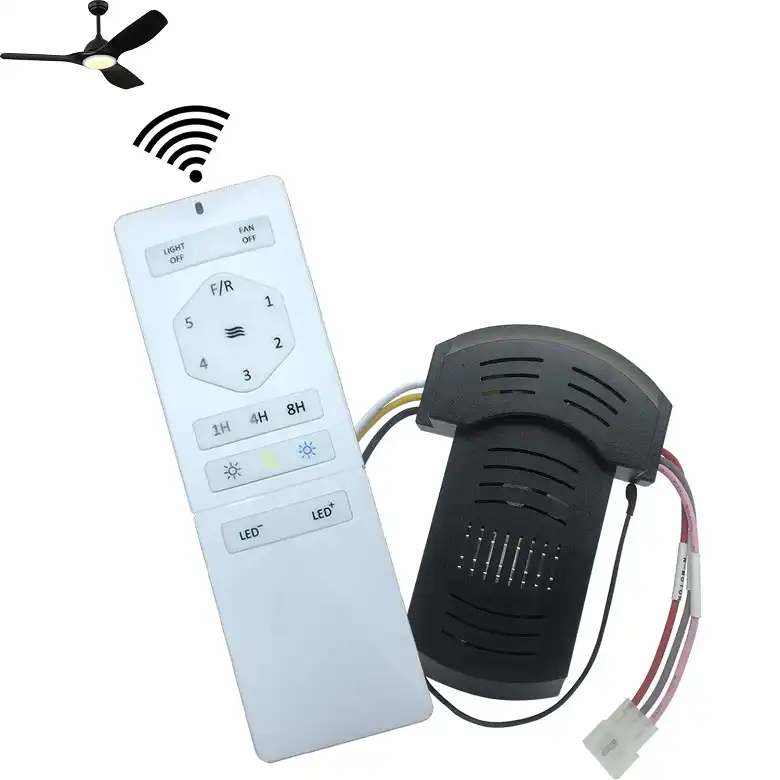
Adding a remote control to your ceiling fan is another popular option for bypassing the pull chain. This method offers flexibility in control location and doesn’t require any wall modifications.
To install a remote control:
- Remove the fan canopy to access the wiring
- Disconnect the pull chain switch
- Install the remote receiver in the canopy
- Connect the receiver to the fan’s wiring
- Replace the canopy and program the remote
This process typically takes about 1-2 hours. Remote control kits usually cost between $30-$60, depending on the features included.
Pros of remote control installation:
- Control from anywhere in the room
- No wall modifications required
- Often includes additional features like light dimming
Cons of remote control installation:
- Requires batteries for the remote
- Remote can be misplaced
- May experience interference with other devices
Smart Fan Control
For the tech-savvy homeowner, installing a smart fan controller is an excellent way to bypass the pull chain while adding modern functionality to your ceiling fan.
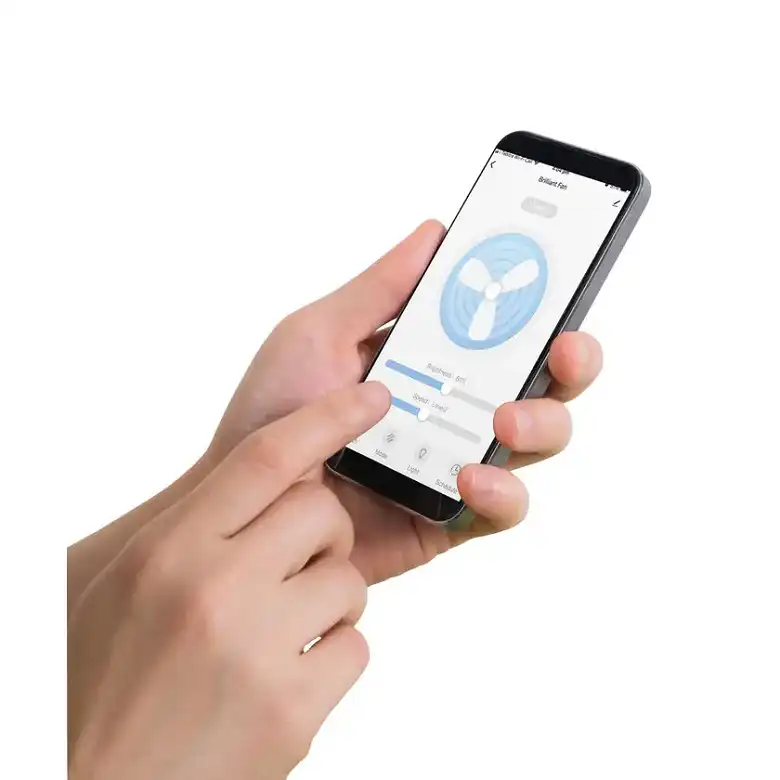
Smart controllers can be installed similarly to remote controls, but they connect to your home’s Wi-Fi network. This allows you to control your fan from your smartphone or integrate it with smart home systems like Amazon Alexa or Google Home.
Installation typically involves:
- Removing the fan canopy
- Disconnecting the pull chain switch
- Installing the smart controller
- Connecting to your home’s Wi-Fi
- Setting up the accompanying smartphone app
The installation process usually takes 1-2 hours. Smart fan controllers are more expensive than other options, typically ranging from $50-$100.
Pros of smart fan control:
- Control from anywhere via smartphone
- Integration with smart home systems
- Advanced features like scheduling and energy monitoring
Cons of smart fan control:
- Higher cost
- Requires Wi-Fi connection
- May have a steeper learning curve
How to Remove the Pull Chain Mechanism
Regardless of which new control method you choose, you’ll need to remove the old pull chain mechanism. Here’s how to do it:
- Remove the fan’s light kit (if present) to access the switch housing.
- Locate the pull chain switch inside the housing.
- Disconnect the wires connected to the switch.
- Remove the switch from the housing.
- Cap off the wires that were connected to the switch using wire nuts.
- Reassemble the fan housing.
This process typically takes about 30 minutes to an hour.

Image: A Pull-Chain Diagram
Troubleshooting Common Issues
After bypassing your pull chain, you might encounter some issues. Here are some common problems and solutions:
- Fan not responding to new controls: Double-check all wiring connections and ensure the power is turned back on at the circuit breaker.
- Speed control problems: Some replacement controls may not be compatible with all fan speeds. You might need to adjust the control or consider a different model.
- Interference with other devices: If you’ve installed a remote or smart control, try changing the frequency or channel to reduce interference.
Bottom Line
Bypassing the pull chain on your ceiling fan can greatly improve its functionality and convenience. Whether you opt for a wall switch, remote control, or smart controller, the process is relatively straightforward for most DIY enthusiasts. Remember to prioritize safety, choose the method that best fits your needs and budget, and don’t hesitate to call a professional if you’re unsure about any step of the process.