How to Do Diagonal Corner Wall Cabinet Installation: A Step-by-Step Guide
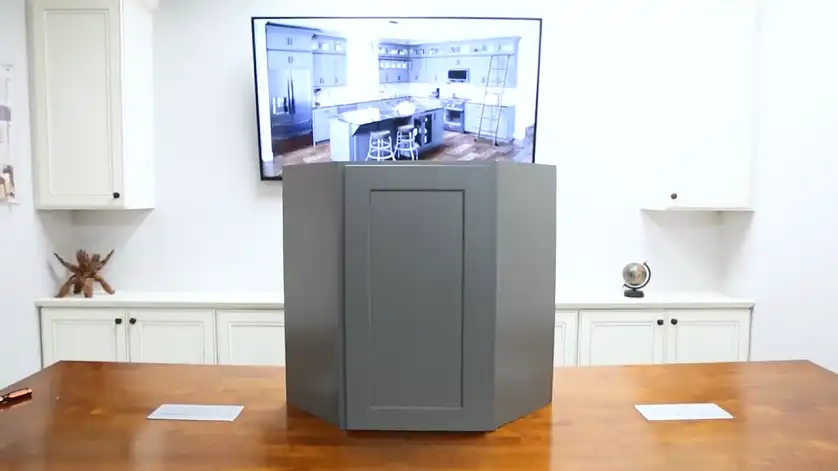
Installing a diagonal corner wall cabinet can transform the look and functionality of your kitchen or workspace. These unique cabinets maximize corner space and add a stylish touch to your interior design. Whether you’re a DIY enthusiast or a homeowner looking to upgrade your storage solutions, this guide will walk you through the entire installation process with precision and ease.
Corner cabinets are more than just storage spaces. They’re clever design elements that can turn awkward corner areas into functional and attractive storage zones. By following our detailed instructions, you’ll be able to install your diagonal corner wall cabinet like a pro.

Equipment and Materials You Will Require for Installing a Diagonal Corner Wall Cabinet
Before we start, let’s gather our tools and materials. You’ll need:
- A drill – To make pilot holes for screws.
- A screwdriver – To tighten screws.
- A level – To ensure the cabinet is level.
- A tape measure – To measure distances and cut materials.
- A pencil – To mark drilling points and cutting lines.
- Clamps or brackets – To hold pieces in place while gluing or screwing.
- A rubber mallet – To gently tap pieces into place.
- Hinges – To attach the doors to the cabinet.
Steps to Install a Diagonal Corner Wall Cabinet
Now, let’s get down to business. Here’s a step-by-step guide to installing your diagonal corner wall cabinet:
The key to a successful cabinet installation is careful preparation. Clear the area and ensure you have a clean, soft surface to work on. Lay out all the cabinet components and verify that nothing is damaged.
Assembling the Cabinet Frame
Start with the front frame of the cabinet. Place it on a clean, soft surface to protect it from scratches. Apply wood glue carefully into the frame’s grooves to ensure a strong, secure connection. Insert the small side panels into the grooves of the front frame, ensuring they are perfectly aligned and even.


Next, add the top and bottom panels, making sure they fit snugly into the side panel grooves.

Incorporate the larger side panels, connecting them seamlessly with the smaller panels.

Attach the back panel to complete the cabinet’s basic structure, using screws to secure all panels firmly.

Mounting Considerations for Adjacent Cabinets
When installing near an existing cabinet, you’ll need extra care in alignment. Use a long level to create a continuous reference line across both cabinets. This ensures your new diagonal cabinet looks seamless and professional. If there are slight height variations, you might need to use shims to create a perfectly level installation.
Bracket and Shelf Installation
Install the mounting brackets carefully. Attach the rainbow bracket to the side panel and front frame. Add L-shape brackets to connect the front frame and top panel. These brackets are crucial for secure wall mounting and will help maintain alignment with adjacent cabinets.
Insert shelf clips into the four side panels and place the adjustable shelves. Ensure they sit level and secure, providing flexible storage options.
Final Door Installation
Carefully attach the hinges to the door and front frame. Take your time to ensure the door is aligned perfectly and opens smoothly. Check that it doesn’t interfere with the door of the adjacent cabinet when opened.
Mounting the Cabinet
Finding wall studs is critical for a secure installation. Use a stud finder to locate and mark the wall studs. This ensures your cabinet can bear weight safely and remains stable over time.
Hold the cabinet against the wall at the desired location. Use a level to ensure it’s perfectly straight, especially in relation to the existing cabinet. Mark the mounting points, drill pilot holes into the studs, and carefully mount the cabinet using appropriate screws.
Conclusion
Installing a diagonal corner wall cabinet is a rewarding DIY project that can add both style and storage to your home. By following these steps and taking your time, you can achieve professional-looking results. Remember, if you encounter any difficulties or have questions, don’t hesitate to consult the manufacturer’s instructions or seek help from a professional.
Happy DIY-ing! If you have any questions or need further clarification, feel free to leave a comment below.


